It started some many months back when we brought our new puppy home. We placed his kennel in the kitchen and as he has grown out of that first kennel, the kitchen is pretty much his space. He stays there when we are away and sleeps there overnight. Our long range home improvement plans include a kitchen overhaul, so we are dreaming up those ideas now. However, when Marcel's snack time began to include the berber carpet in the kitchen, our ideas seemed to focus there more and more frequently. Marcel's demolition accelerated over the tough tax season and two weekends past it became apparent that the work would need to be done quickly on the floor.
 |
| Marcel looking up from his delicious demo. |
 |
| We removed the fridge and the stove and rolled them into the living room. After removing the last of the carpet, we could see what kind of surface we were working with. All told it was pretty clean to start from and no need for other removal. |
We also pulled up all of the floor edging and stashed it for safe keeping.
So, AB and I grabbed our wedding gift cards to Menards and we hit the road with our floor measurements!
We bought a 12' x 11' foot roll of vinyl flooring. As the very helpful hint sign at Menards suggested: Helpful Hint- Always buy enough material for your project! (I can only imagine what has necessitated the need for such a sign.) We also purchased the matching floor adhesive necessary and the edge kits for the doorway to the living room and the one that heads to the basement stairs. The rest of the materials and tools we already had at home.
 |
| When we got the flooring home, we set to work patterning it to fit exactly to the space. It was like cutting a dress pattern out of a really sturdy yet flexible material. We did pull the vinyl outside to make some of the major cuts in measurement. We used a heavy duty utility knife and a straight edge. |
 |
| The next step we took was to apply half of the adhesive to our floor. And we chose which half carefully so we didn't paint ourselves in. I used a paint roller that we didn't mind scrapping at the end of the project. We allowed the adhesive to dry for an hour (and we took Marcel for a walk while we waited.) |


When we returned we lay the floor down over the adhesive side and used fabric covered blocks to smooth out and avoid any air pockets. We also allowed the boss to test his space for quality assurance purposes. Although a bit unsure of how this flooring would taste, Marcel seemed to be ok with the results thus far.
Our next step was to roll up the half of the vinyl that had not yet been stuck down and repeat the adhesive process.
We were sure to keep the adhesive approximately 3/4" away from all edges so that one day when we get to those bigger kitchen improvements we can pull this vinyl back up and replace with something impervious to dogs. There was another hour wait for the adhesive to dry (this stuff is strong so we kept the front and back screen doors open while we waited. When it had dried to a transparent color we then rolled the vinyl into place and proceeded with our smushing technique. (There may or may not have been some singing of Salt n' Pepper while doing this.) We reconnected all of the base trim and cut the new edgings that merge the vinyl into the other spaces to fit in the doorways.
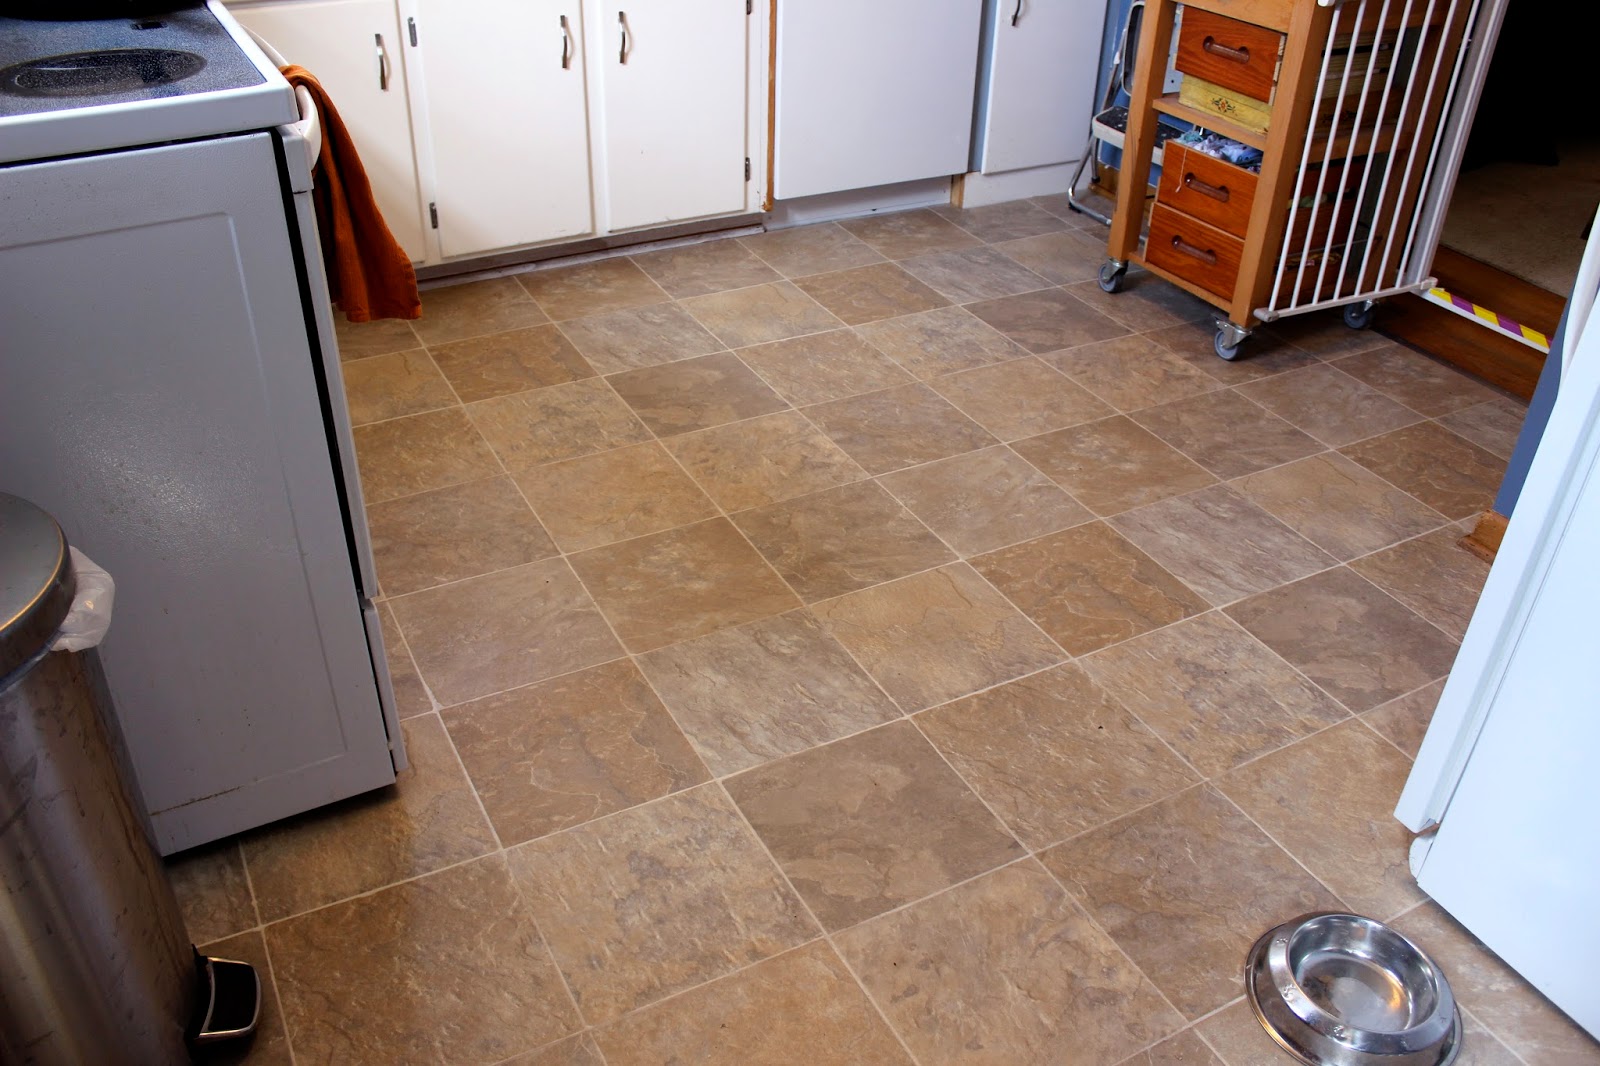
This dried overnight with as little foot traffic as possible and then in the morning we moved the fridge and the stove back into place. We now have a new and much easier to clean floor.
The finished result is a good temporary solution to Marcel's munchies, or so we hope...